

Jim Krause | Classes | C228 Multi-Cam TV Studio Production 1
Week 6
Announcements & Updates:
- Lecture this week: We'll continue with lighting, exploring techniques.
- Talk about directing - How to start a show.
- Discuss Demonstration Video
- Lab this week: Finish carrying out a 4-part, 2-week rotation. You'll produce a talk show (Studio 7 Perspectives) while learning the Chyron, spending time with the audio console, learning lighting and serving as talent.
- Lab next week:
- Audio/Lighting Quiz next week (The week of March 1).
- Studio 7 Perspectives topic and questions
- Demonstration Video preproduction and pitches due next week. Preproduction is worth 6 points and includes:
- Program Proposal (includes title, objective, target audience, show description, production overview)
- Treatment or Script (partial script format can be used which includes intro, talk points, segues and close)
- Storyboarded key shots (Just include a few of the key shots.)
- Floor plan & lighting plot
Readings
- Last week: Cybercollege lighting units: 37, 38, & 39 (Audio) and 27, 28, 29, & 30 (Lighting)
- This week: Arri Lighting Handbook
Multi-Camera Directing Preparations
Before recording begins, crew and talent should be in their respective positions- whether in the studio, control room, or audio booth.
The AD should help keep track of time.
Shortly before recording is to begin the AD (or Director) should ask the FD if everyone is ready on the studio floor. (E.g., "Floor Director - Are you ready on the floor?" He/she waits until the FD responds. In some studios the Director or AD will check with individual camera operators (assuming there are camera ops on the floor), but it's quicker and easier to work through the FD. Make sure all cameras are on their opening shots.
Next the AD or Director will make sure all are ready in the Control Room. Some like to work through the crew in the same order, establishing a routine. (E.g., Audio, Graphics, Prompter, Engineering, Lighting, Media Record, AD, etc.)
The Director should talk with the TD, Audio, and Media Operator to discuss how the show will open. For example, at the start of the show (bottom of the countdown) one might need to start Media playback, fade up on the media, and start the theme music simultaneously. Discuss this ahead of time- before recording. That way at the program opening, you can simply count down and say "Go!"
Sample Director Commands
- Stand by (quiet on the floor - program is about to start)
- TD, Standby to Fade up to _______
- Ready Camera __
- Take Camera __
- Audio, Ready theme music
- Play theme music
- Audio, Ready to MIC and CUE talent
- MIC and CUE talent
- TD and AUDIO - Ready to FADE to BLACK in 3, 2, 1,
- FADE to BLACK
Look at the Director Practice clip to see a behind the scenes look at producing IU NewsNet
Visual Design within the TV/Film Frame
Principles of visual design apply to the TV/film frame, just as they do to paintings, photographs, or other types of art. Before designing a set or framing shots, it helps to have an understanding of some basic principles of composition, such as the Rule of Thirds and how lines, shapes, and colors work together as a whole. (WIkipedia has a good entry on this.) Once can't design a professional looking set unless one has an understanding of what looks good and why.
When designing a set, one must work backwards from the end result: What do we want to show viewers inside of the frame? How are you going to show it?
The what refers to the specific content and the how refers to the art and style in its representation.
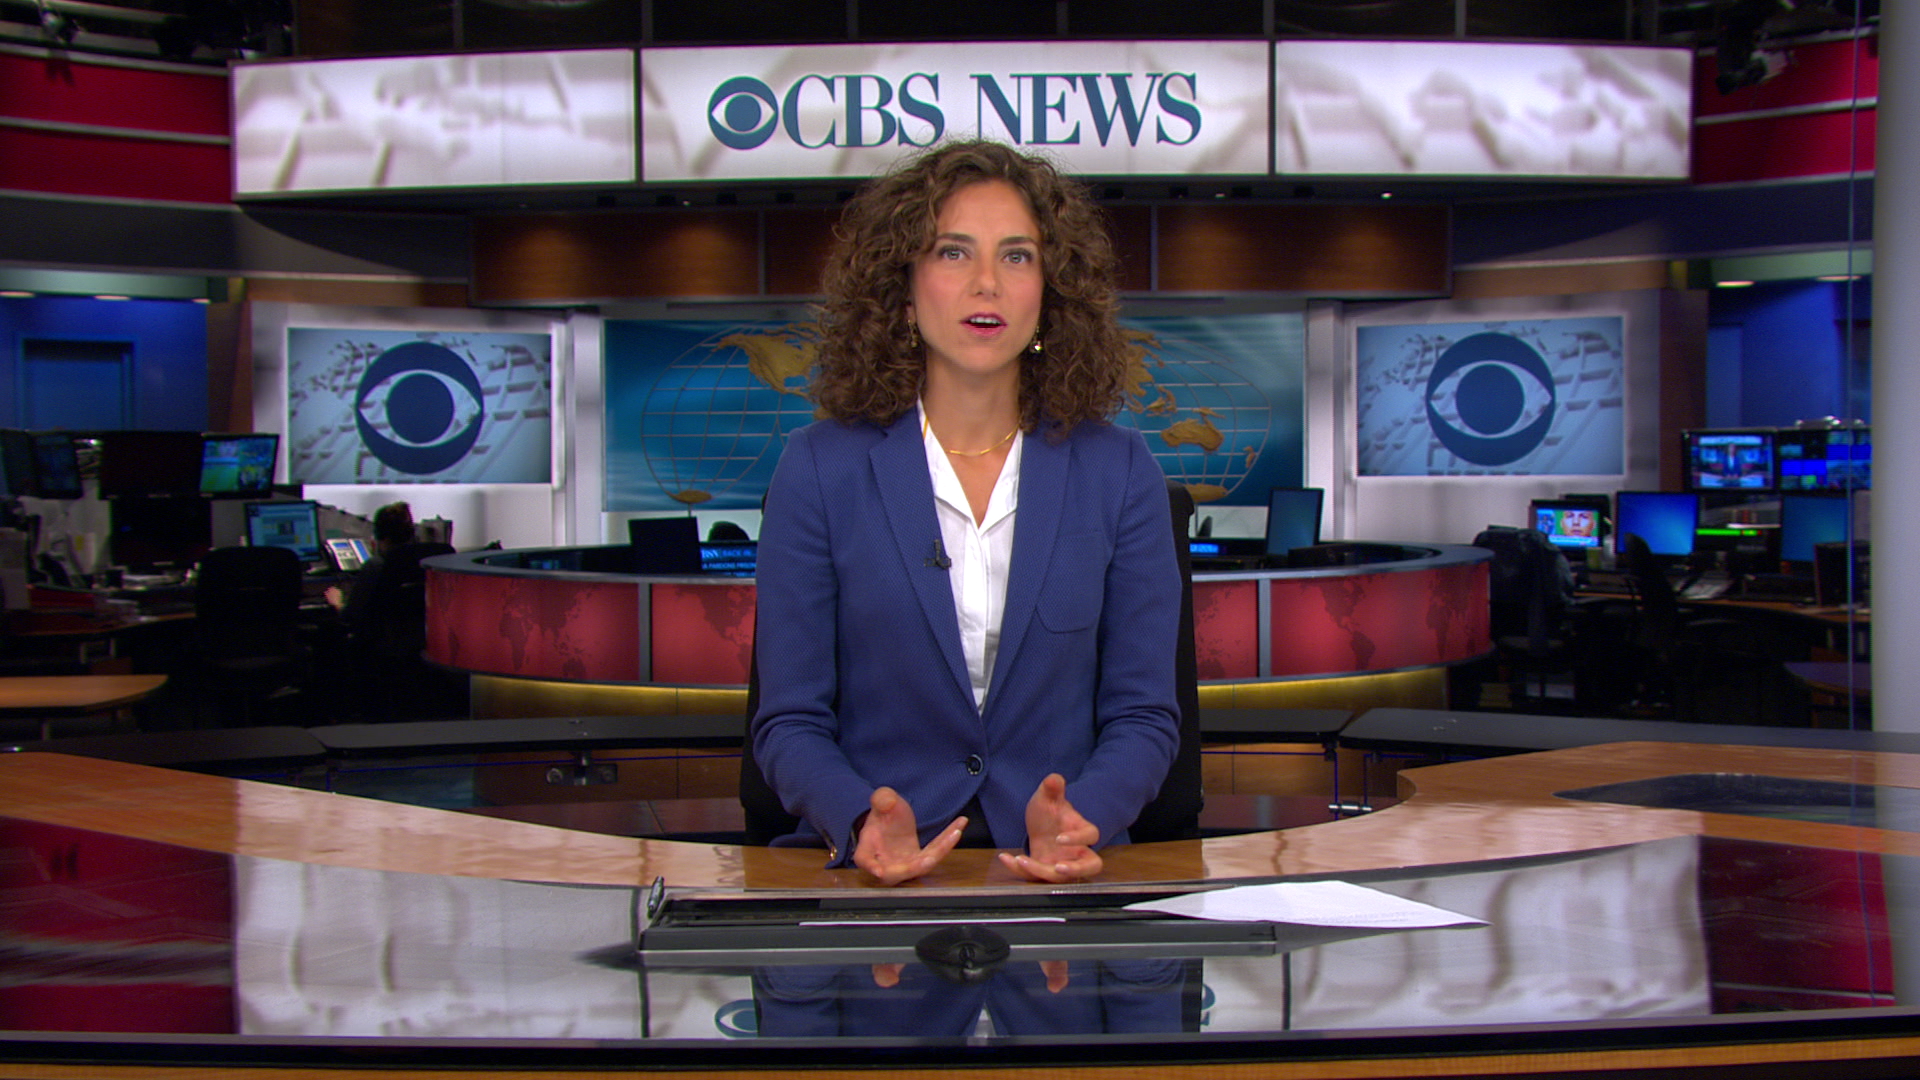
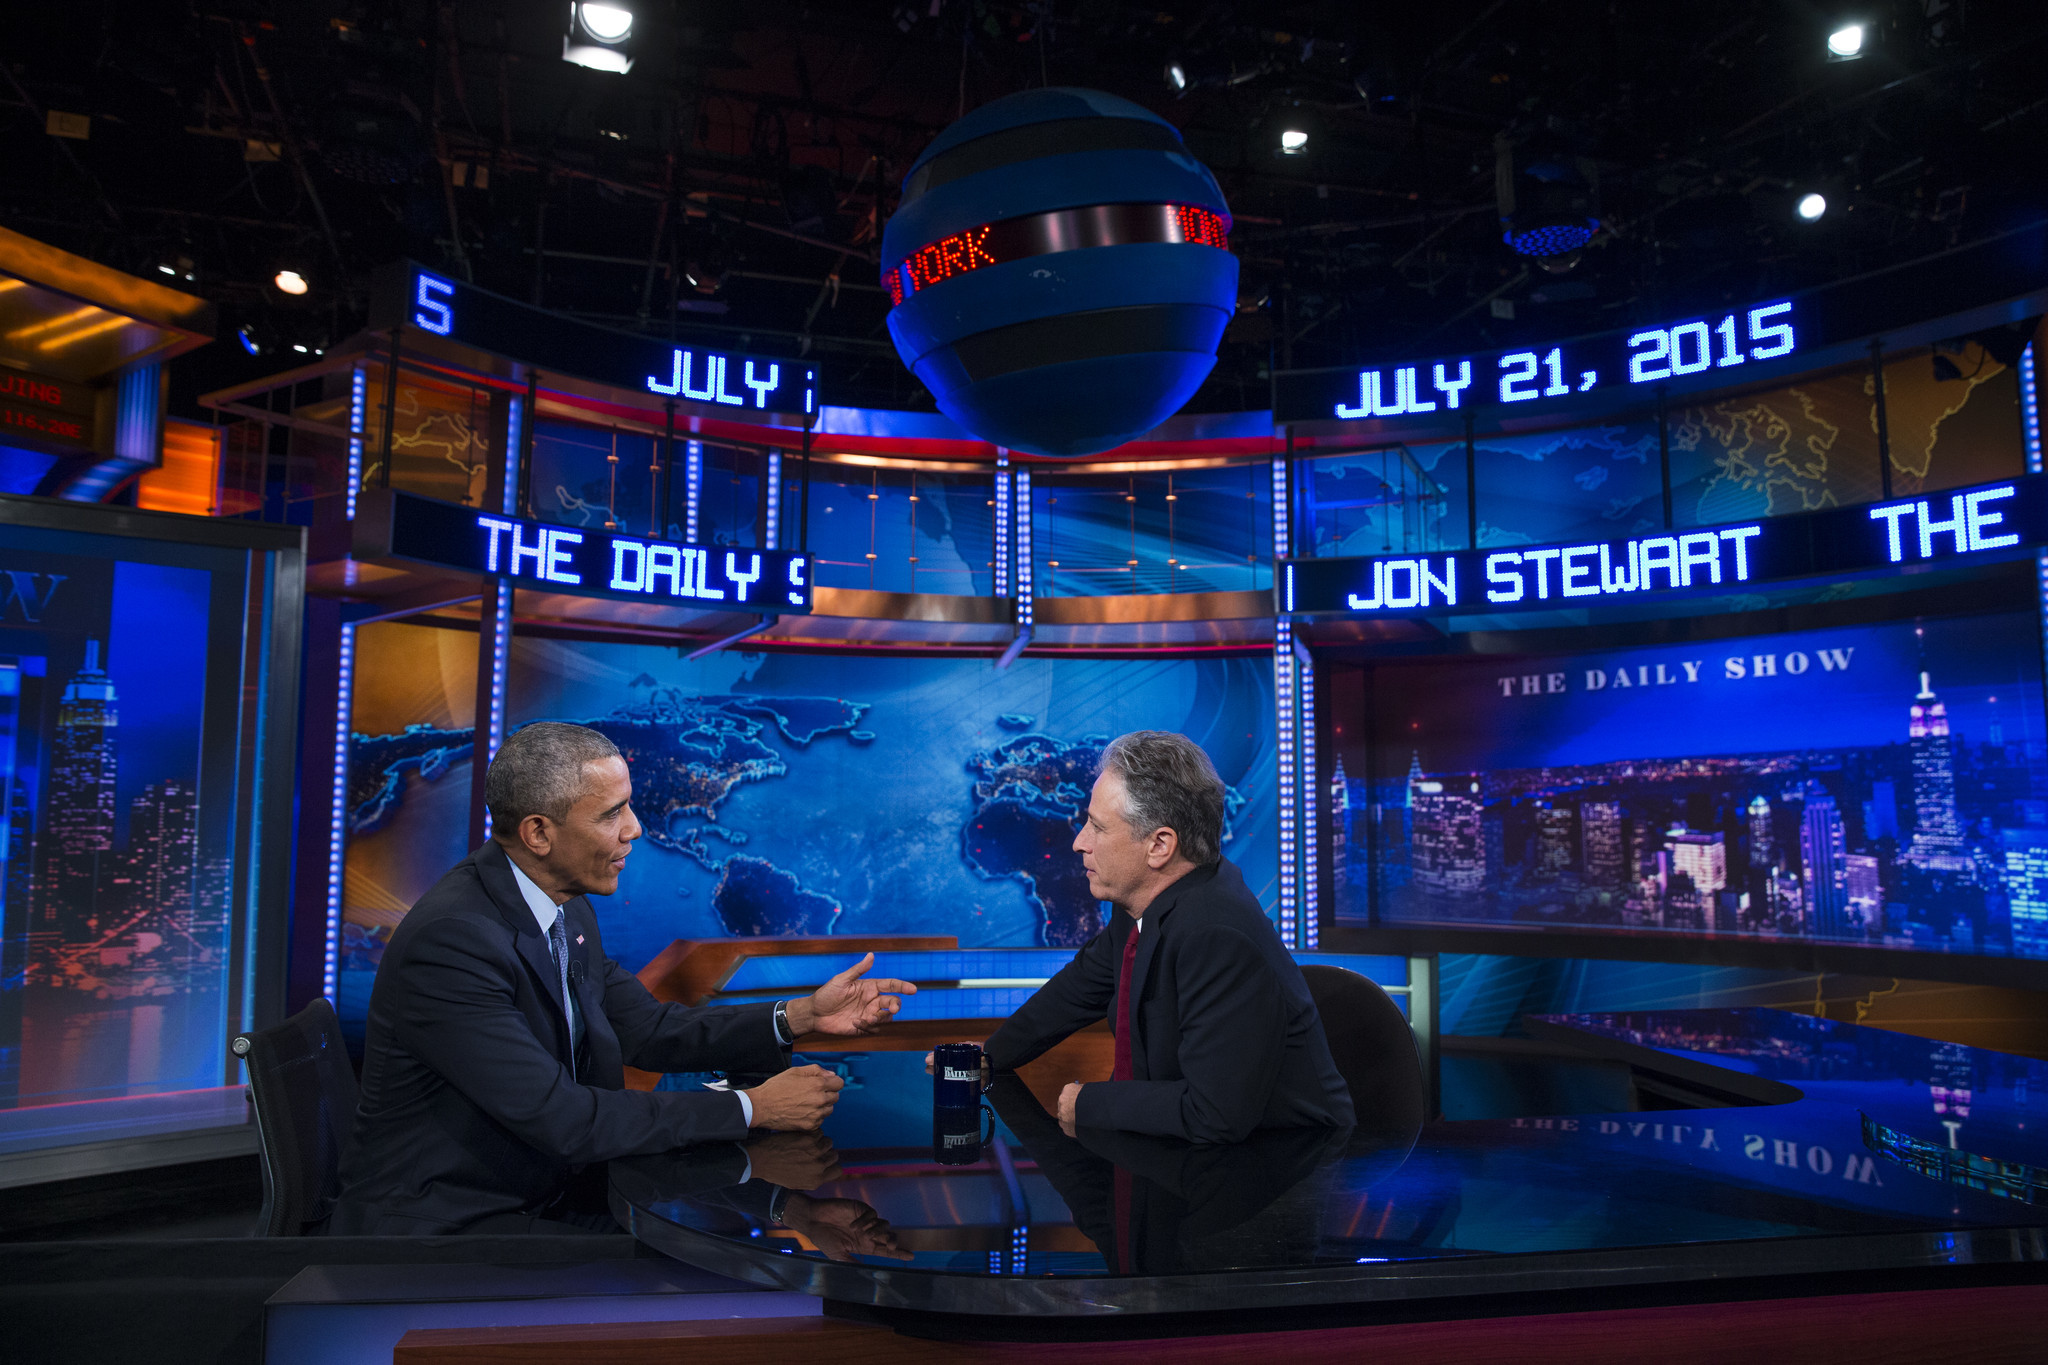
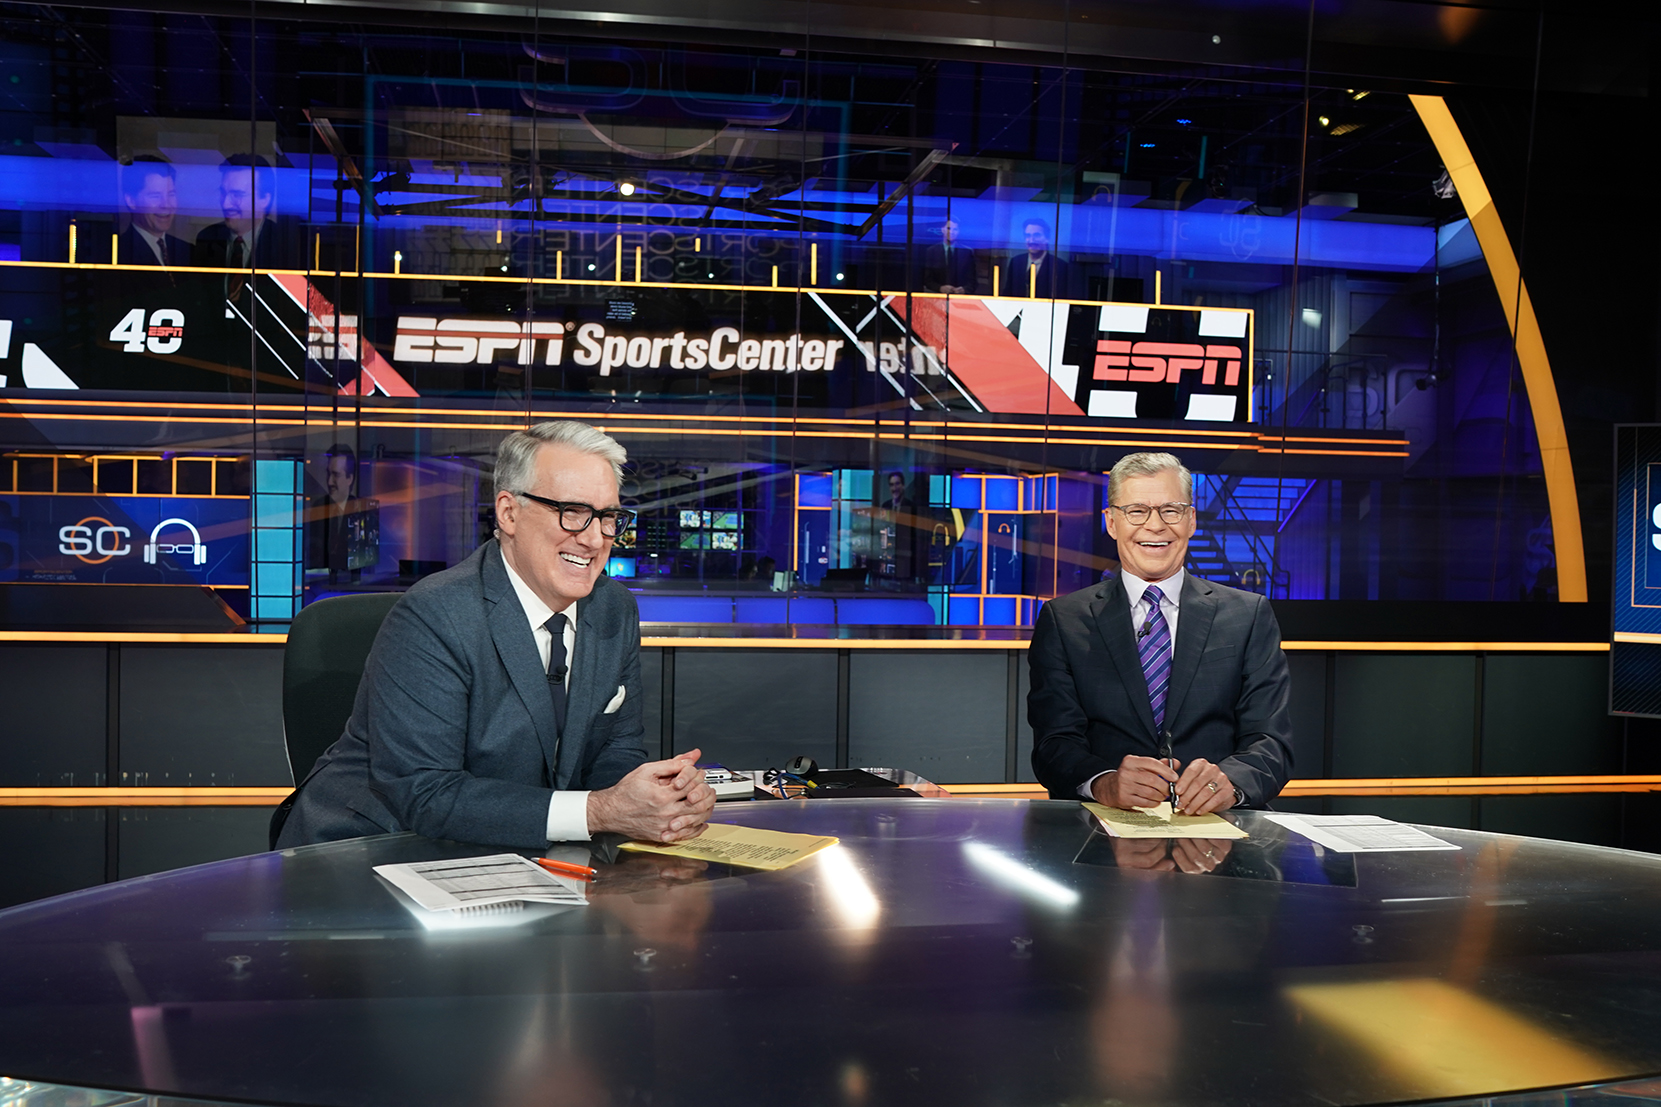
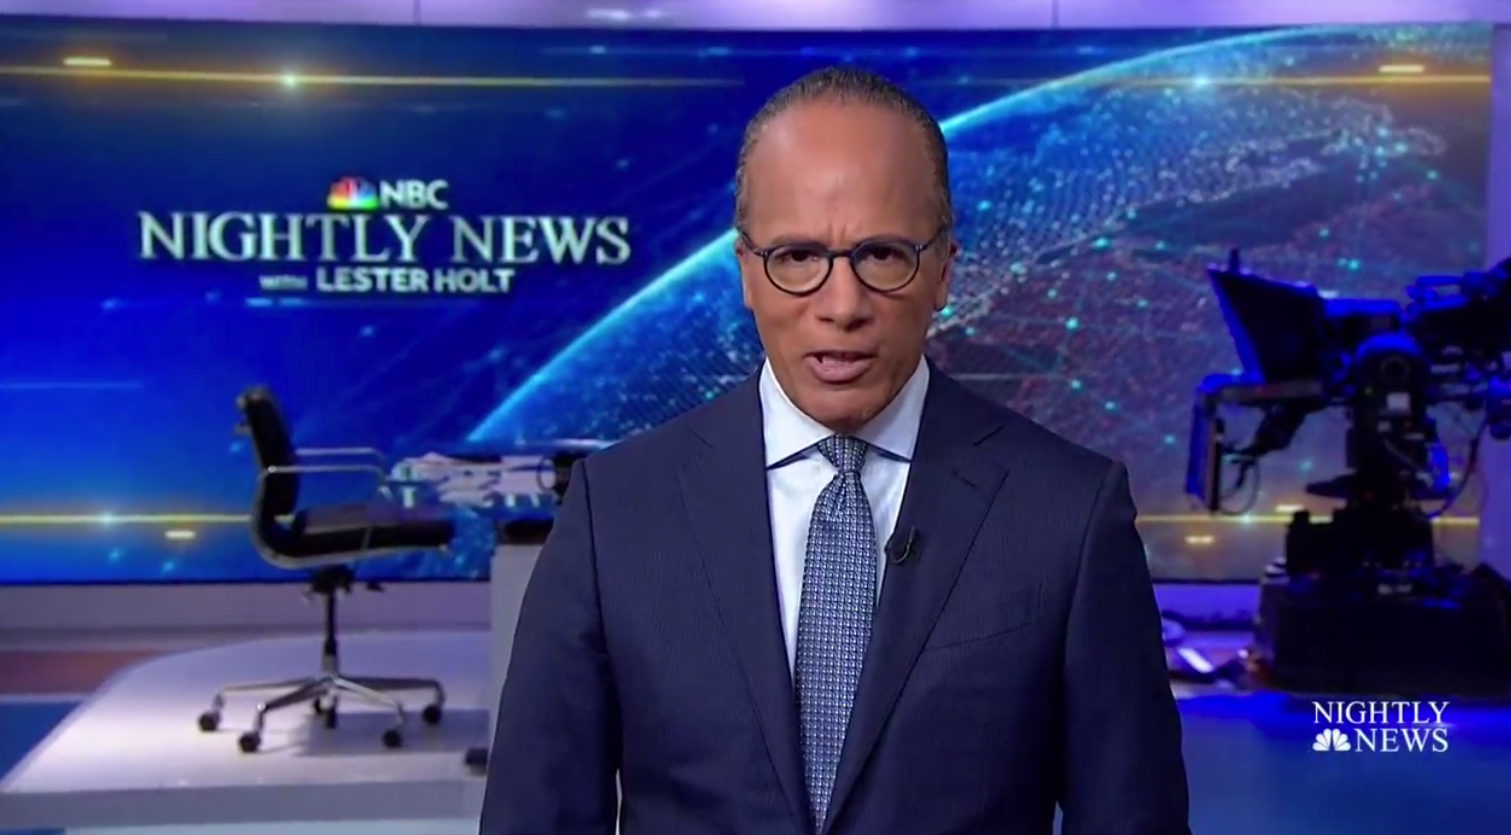
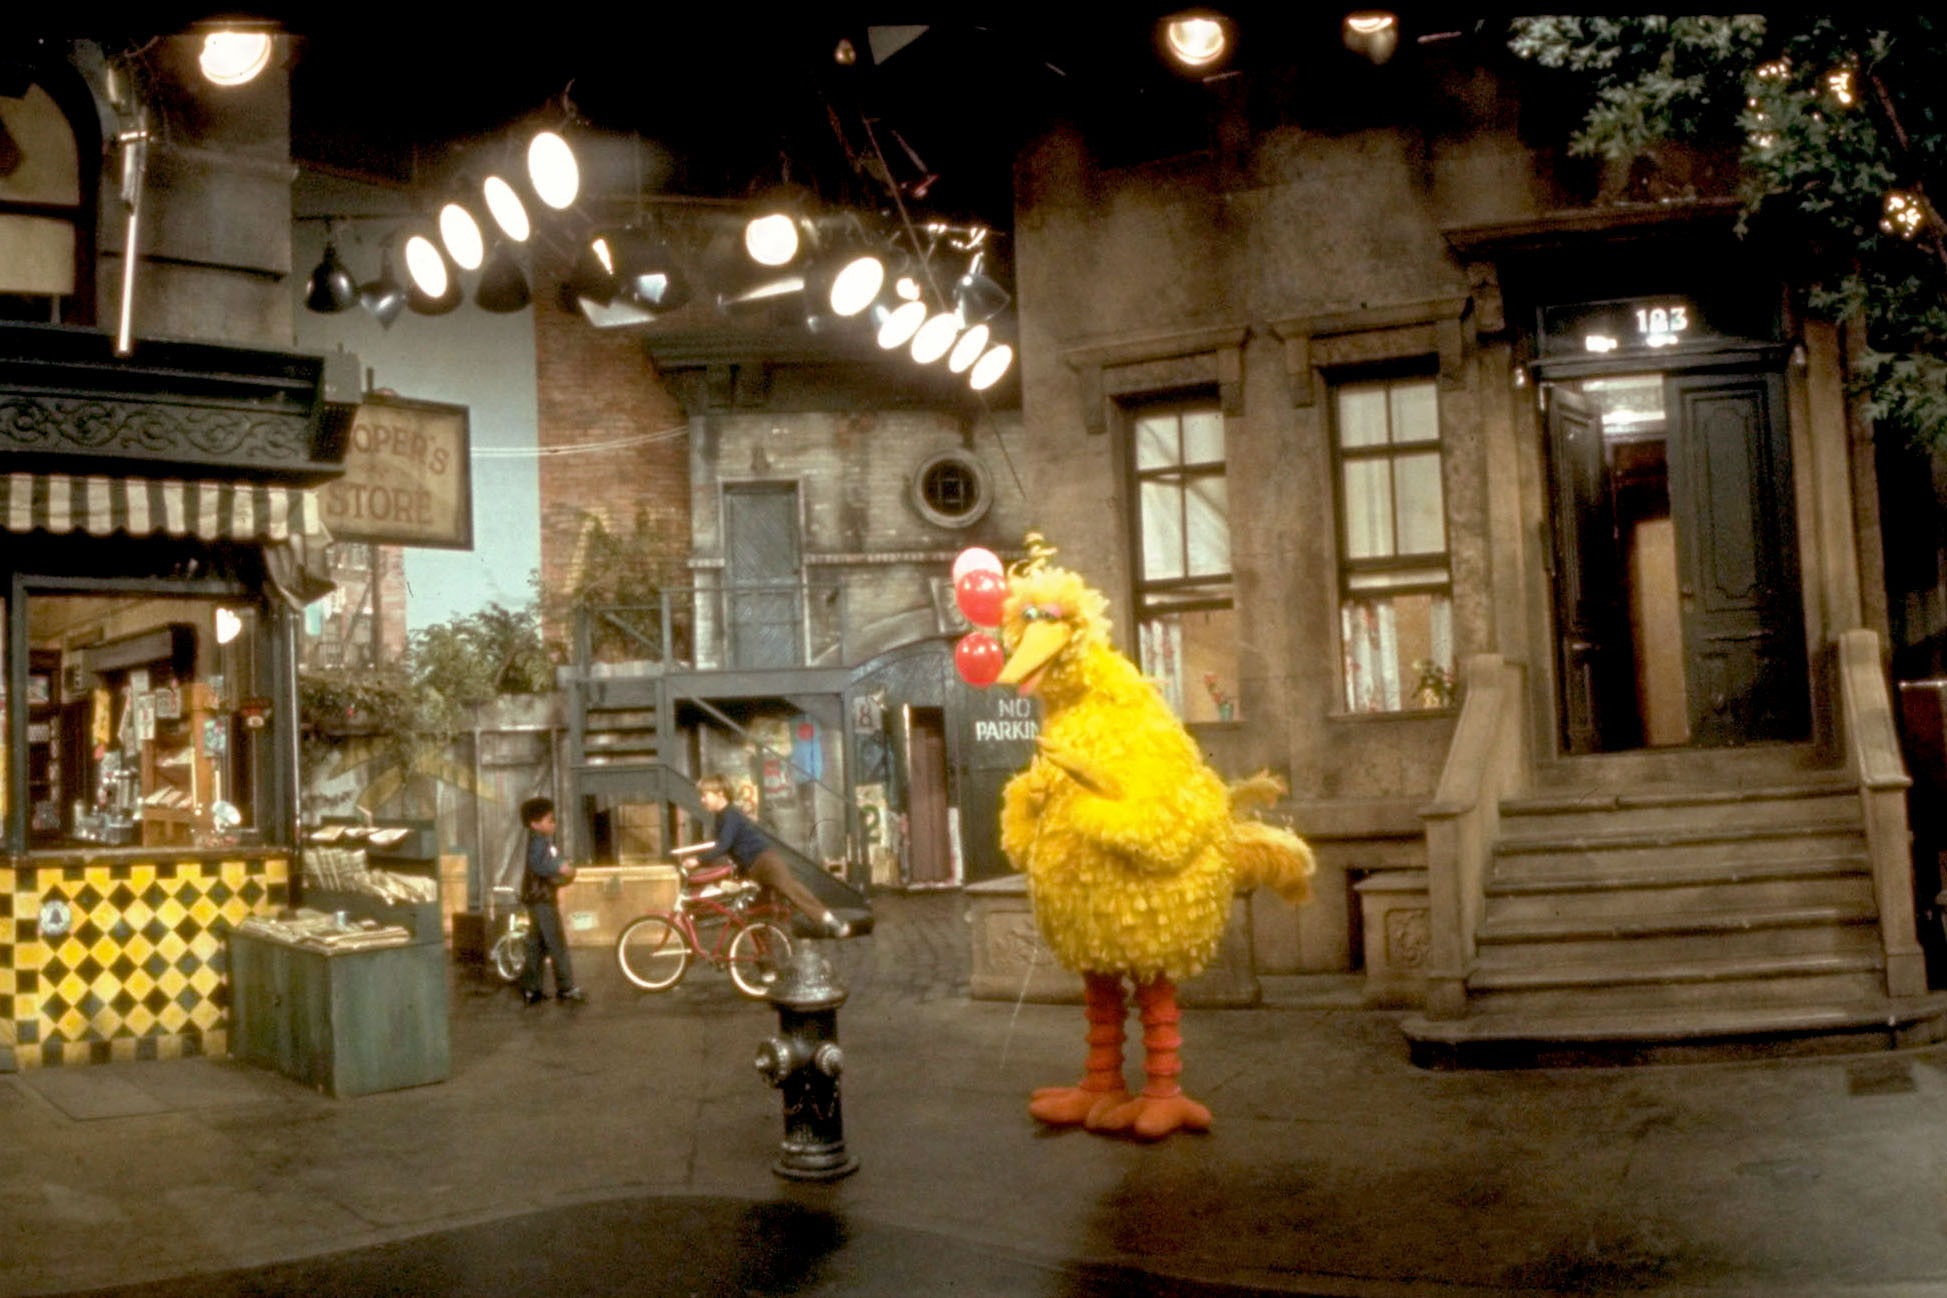
Wide shots show the entire set and establish where our subjects are. There should be an overarching approach to color design and in the case of news or magazine shows, reinforcement of the logo and branding. (E.g. network logo, colors, name of show.)
Close-ups are pivotal in illustrating story points or showing key information and should cut in seamlessly with the wide shots. If there is some blue in the background of the wide shot we expect there to be blue in the background of the closeup.
Take a look at the wide shots from various productions. There is often a clear appraoch to color, lighting, and background elements.
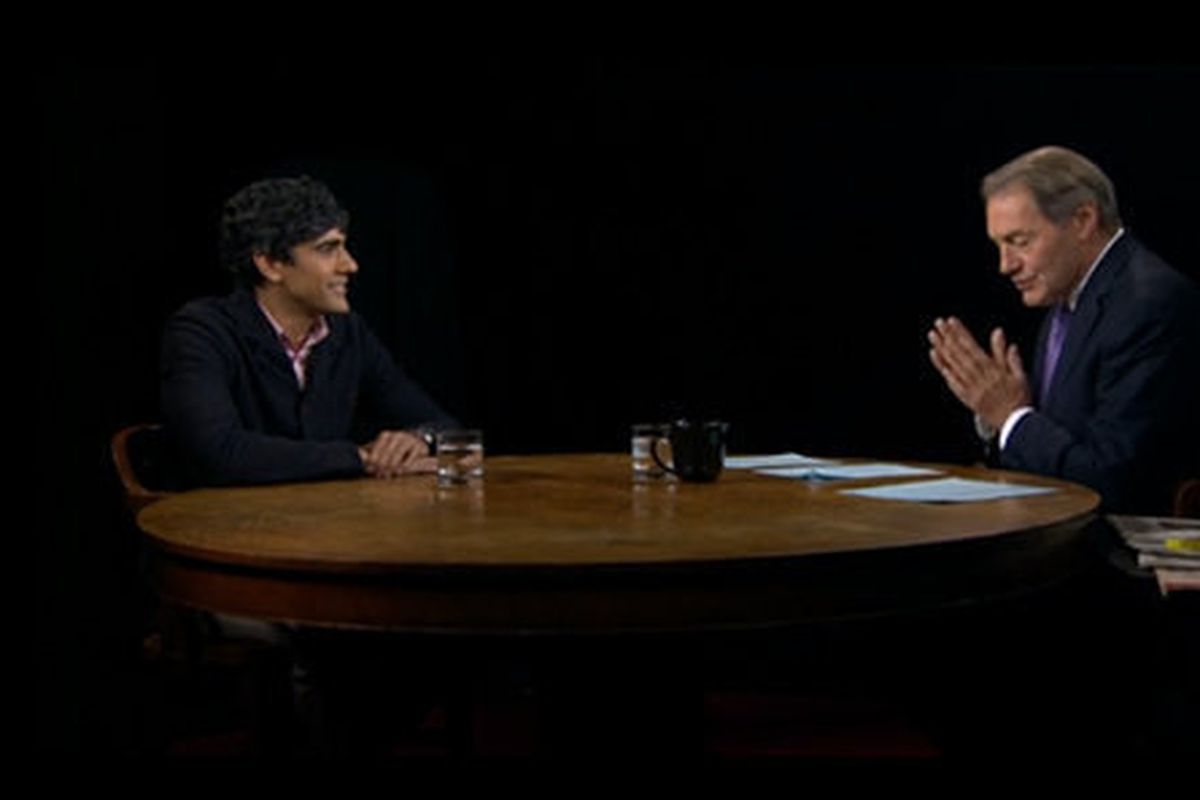
Simple is Fine
One doesn't need an expensive set to look good. The Charlie Rose Show was on the air for years. Their set wasn't just minimal- it didn't even exist. They just used black in the background and took care to light their subjects.
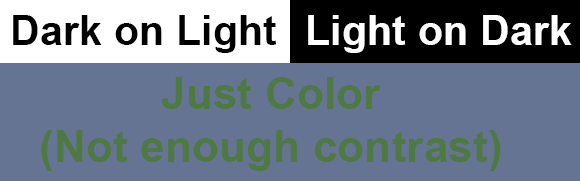
Contrast is Key
Review the examples above and see how the subjects are separated from the background not just by color, but by lighting.
In any composition, our eyes are drawn to the points of highest contrast.
In graphic design whether typography or portraiture, contrast is used to direct attention to what's important. In graphics we use either dark text on a light background (like a newspaper) or light text on a dark background. Using just color to separate foregound and background is usually not a good idea.
We can shape contrast with proper lighting. Some lighting designers suggest making the subject stand out from the background by at least 1 f-stop (20 IRE on the waveform monitor).
[Show example using just overhead lighting]
Lighting is a powerful tool. WIth proper lighting even the cheapest backgrounds can be lit to compliment the subjects.
Tips to Make Your Sets Look Good
- Backgrounds should have some uniformity and an overarching approach to color and texture.
- Use similar styles of furniture and set pieces. (Don't use mis-matched furniture, like a colonial table with a modern sofa.) If the set contains elements that don't work together they will distract from the talent.
- Use minimal colors. Most good graphics and sets just use two colors that work well together.
- Make sure talent is positioned at least 8 feet away from any backdrops. Otherwise, their key lights will spill onto the backdrop and it will be impossible to position backlights at the right angle.This will give you the chance to light the background in any way you wish without affecting the talent's lighting.
- Make sure that close-ups will have similar colors and textures in the background that the wide shot has.
- Light your subjects to they stand out from the background. For example you can use the 1 f-stop (20 IRE) rule.
A few suggestions about producing Studio 7 Perspectives: This has the potential to be an excellent addition to your portfolio.
- Wear camera-friendly clothing
- Treat the subject openly and honestly
- Avoid unecessary blocking and chit-chat. Get into the topic as that is what the show is all about.
- Don't use music or a soundtrack that's disrespectful of a serious topic.
Last week we covered 3-point lighting (aka the Lighting Triangle), which is best suited for portraiture.
- Keylight: Primary light source. Illuminates the basic shape of the subject
- Backlight: helps separate the subject from the background, creates a figure-ground relationship.
- Fill light. Fills in dark areas. Slows/minimizes the falloff.
And we often use a 4th element in TV/film:
- Background or Set lights which can help set the mood and establish the location.
We also covered some lighting techniques
Cameo lighting - Background is black. Foreground (subject) is illuminated. (Like in Charlie Rose show)
Silhouette lighting - Background is illuminated. Subject is not lit. Create effect of dark figures against a background.
Broad (Downstage) lighting verses or Narrow (Upstage) lighting
Placing the keylight: Broad (downstage) vs Narrow (upstage) lighting
Consider if you want broad or narrow lighting. Most interviews are shot portrait style- where the talent is slightly turned from the camera, typically facing another person (actor or interviewer, etc.).
Broad lighting i(also known as downstage lighting) is when you position the key light on the camera side of the interviewee's primary vector. Narrow lighting (also known as short or upstage lighting) is when you place the key light on the other side of the primary vector.
[Review lighting with model.]
Lighting Vocabulary (know these)
- Barn Door
- C-Stand
- Color temperature
- Diffusion
- Floodlight
- Floursecent lamp
- Foot-candle
- Gel
- HMI
- Incident (verses reflected light)
- LED lamp
- Lux
- ND gels
- Reflected light (verses incident light)
- Reflector
- Scrim
- Spotlight
- Tungsten lamp
- Quartz lamp
ETC Console
- Manual | Supplement
- DMX: Digital MultipleX - digital communication protocol for lighting and stage instruments
- Fixture: light (intelligent lights can have different profiles)
- Dimmer: Switched circuit
- Channel: Name to control a dimmer
- Address: Unique number to control a specific attribute of fixture
Demonstration Video
Next week your Demonstration or Informational video proposals are due by the start of lab.
Review the Demonstration Video assignment.
Here's one made by WIll Raterman on Origami
LAB ---------------------------------------------------------------------------------------------------
Objectives: Give students time aand practice so they can learn how to:
- Sett and light a simple talk show
- Operate the ETC console
- Create ID graphics on the Chyron
- Serve as an audio engineer
- Serve as talent
Agenda
- Take attendance
- Talk about graphics workshop for next week. Remind them about preparing Demontration/Informational preproduction work.
- Establish groups for production exercise
- Setup 1st talk show (1 hour for setup, 30 minutes for production)
- take break
- Setup 2nd talk show (1 hour for setup, 30 minutes for production)
The other two sets will be carried out next week)
