

Jim Krause | Classes | P354 Program Graphics & Animation
Week 3
Notes/Announcements:
- Order your book if you want to work from it in the following weeks: Creating Motion Graphics with After Effects, 5th Edition. This is the last week dedicated solely to Photoshop. Will move into AE next week.
- To move your media from different computers, you'll also need a portable USB drive, not a thumbdrive. (2TB recommended)
- Photoshop Quiz in one week (Next Tuesday)
- Reminders:
- Make sure your work has artistic and legal integrity.
- Remember CRAP! Use Contrast to draw attention to your message. Repeat visual elements, Use Alignment to create order. Place corresponding elements in close Proximity to each other.
Agenda:
- Look at / review artwork
- Review elements of key graphics
- Alpha Channels
- In-class exercises
Photoshop (continued)
On Blending Images together (review)
- Make sure images have similar lighting quality and angle
- Adjust gamma so they match (brightness/contrast/levels)
- Adjust color so both are similar (white balance/hue/curves)
Broadcast-safe colors + monitoring & output
Photoshop can easily create colors and luma values that are outside of the legal range of broadcast video. The filter: Video/NTSC Color will bring the saturdation and luminance into an acceptable (legal) range.
Try adding color to a layer (highly saturated red for example). Check its RGB value. Now apply the NTSC Color filter and check the RGB values again.
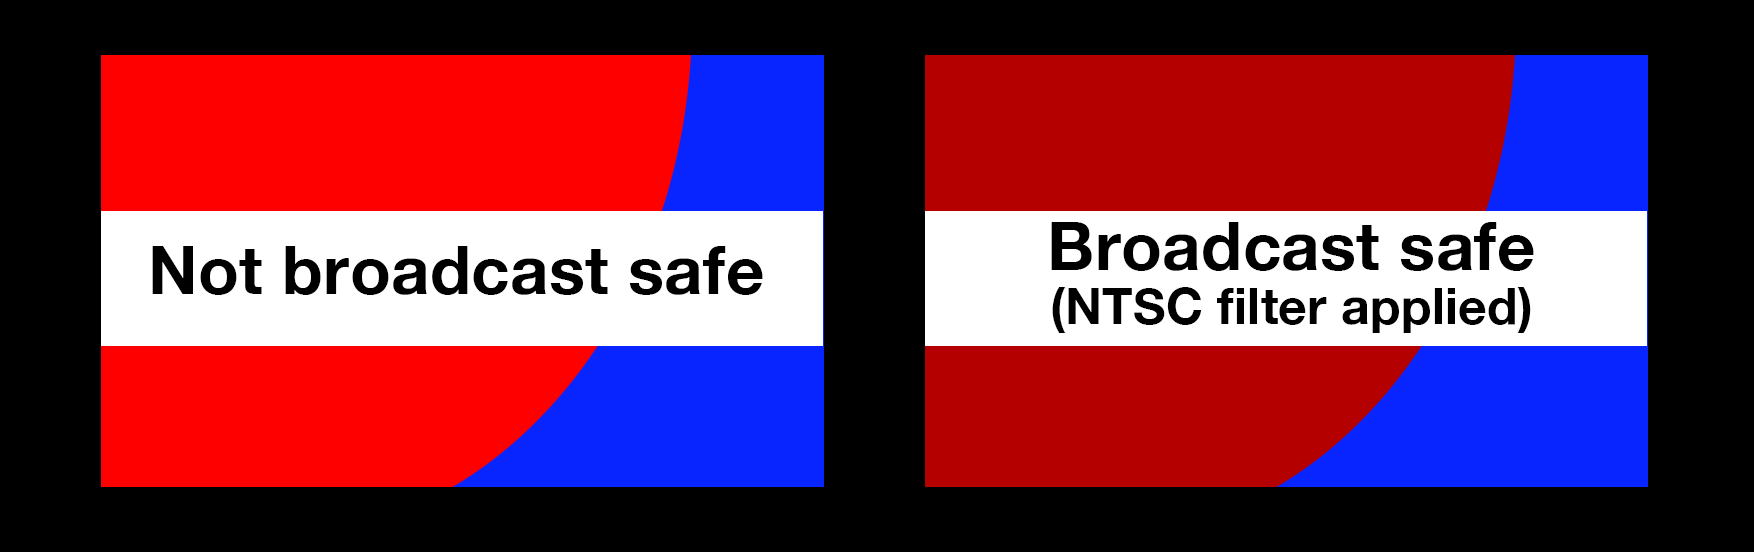
In Photoshop, images will always look crisp on your computer monitor. However, after being output, compressed, encoded, decoded, uplinked, downlinked, broadcast, and received, they'll look quite different from how they did on your computer monitor.
To ensure their images will appear properly on TV and that levels are in the legal broadcast range, it's good to work with calibrated monitors and to check your graphic's levels on a waveform monitor.
Some companies make real-time video output devices so you can see your Photoshop or After Effects composition on a video monitor while you work. AJA, and BlackMagic both make IO devices for Apple and PC computers. If you have an external monitor connected to your computer, you can use File > Export > Video Preview to output your graphic.
Channels and Alphas and Bits..... Oh My!
Video graphics are usually created in the additive color system using three colors: Red, Blue and Green. In Photoshop you can go to the Channels window to see them. II you toggle the three channels on and off you may come to understand that they can be seen as three separate monochromatic images.
Color channels are created automatically by Photoshop when you make a new document. The color mode determines the number of channels. When you start a new RGB image, it creates three channels, one for each color plus a composited RGB channel. If you make a new file in a CMYK color space, Photoshop creates four channels (Cyan Yellow Magenta & Black) plus a composited CMYK channel.
You can view your channels in your image by looking at the channel window in the lower right hand corner of your screen. If you can't see it select "Windows -> show channels"
Alpha channels define parts of an image to be opaque, transparent, or somewhere in between (partially transparent or opaque). These channels aren't typically meant to be looked at (or appreciated) by the viewer, but are used to define the transparency.
Bit Depth (or pixel depth) refers to how much color information is in a particular image. 8-bit images contain up to 256 colors or shades of gray (like a GIF graphic). 16-bit images can have thousands of colors and 24-bit images more than 16 million.
Typical RGB files you create in Photoshop have three 8-bit channels. (3 x 8-bit = 24-bit).
An alpha channel is another 8-bit channel. Think of it as an extra black and white image stored along with your graphic. To make one, simply save a selection or a mask as an alpha channel. In Photoshop you can save selections as alpha channels by looking under "select" -> "save selection". Or you can go to the channel palette and click on the "save selection as a channel" button.
Look at an andrea.tif (sample of a lower third graphic) with an alpha channel. (other sample files: jon.tif and lower_third_temp3.psd)
- Black is transparent
- White is opaque (visible)
- Gray is semi transparent
Since it's an 8-bit channel (think grayscale image), you have 256 steps from black to white. That's 256 varying stages from opaque to transparent.
Adding this additional 8-bit information to your 24-bit image creates a 32-bit image.
An image can have up to 24 channels. (Color or alpha channels) So it’s possible to save multiple alpha channels for varying applications. But while you can have multiple alpha channels in a Photoshop or TIFF document, graphics made to import into editing software like Final Cut Pro or Media Composer should only have one alpha channel.
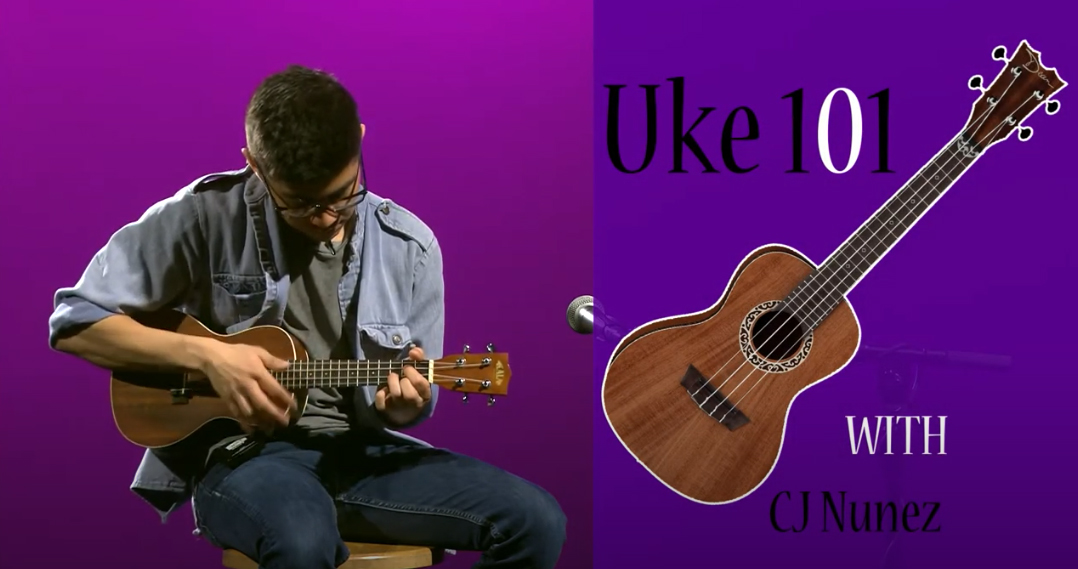
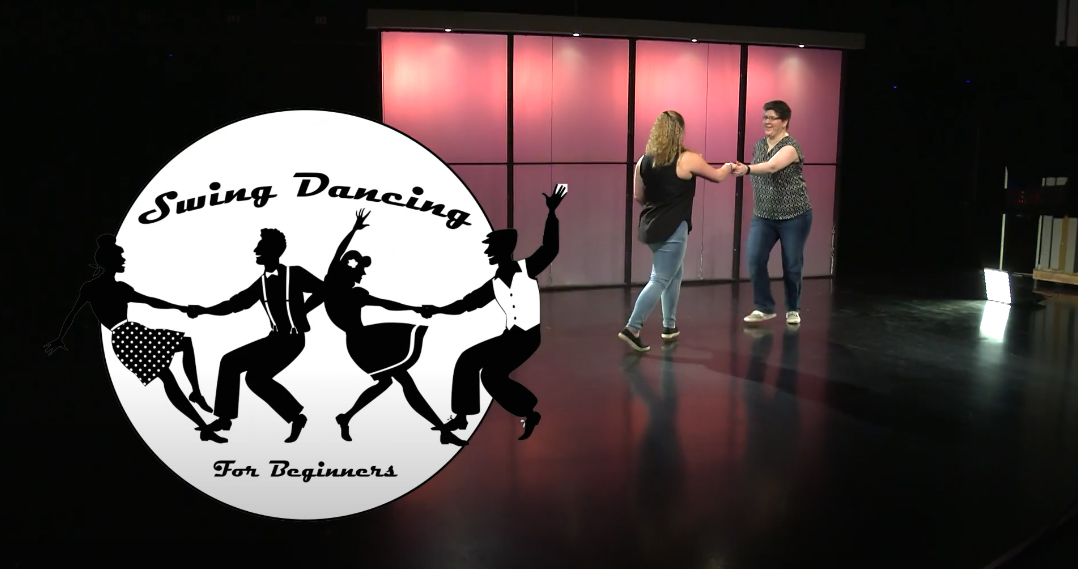
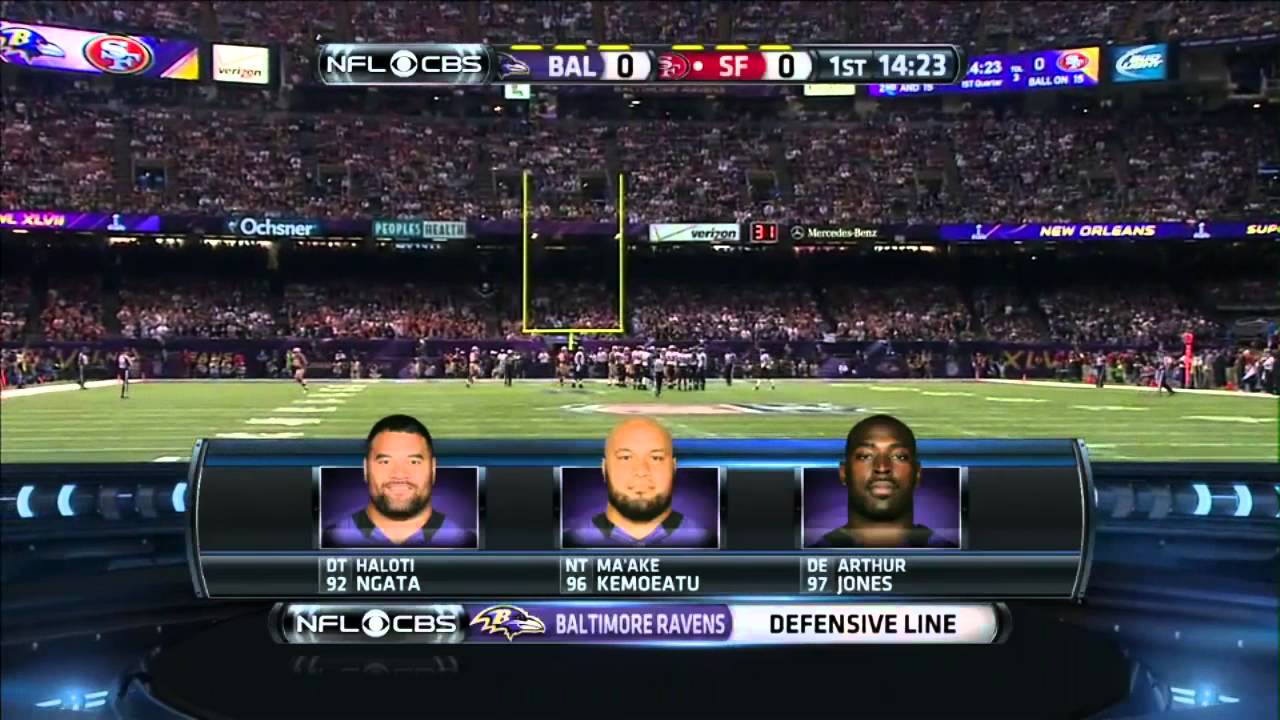
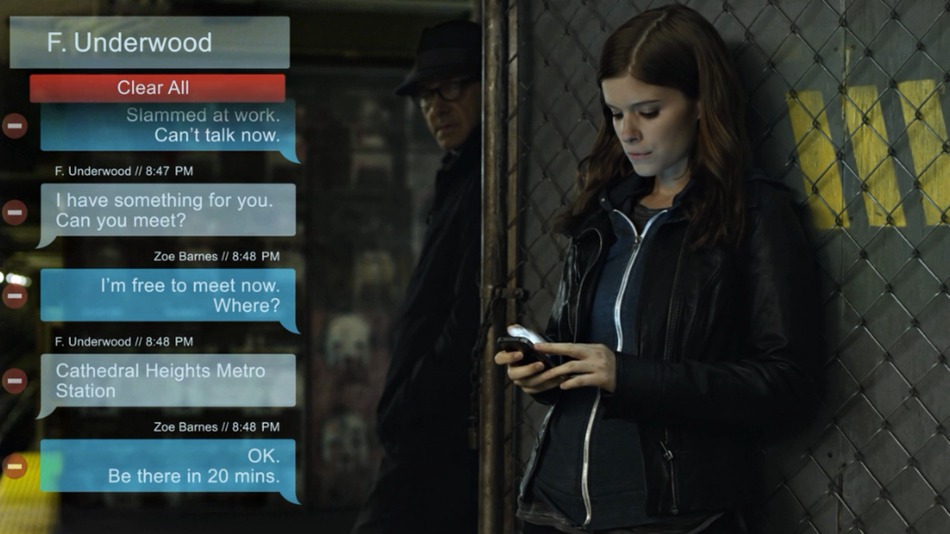
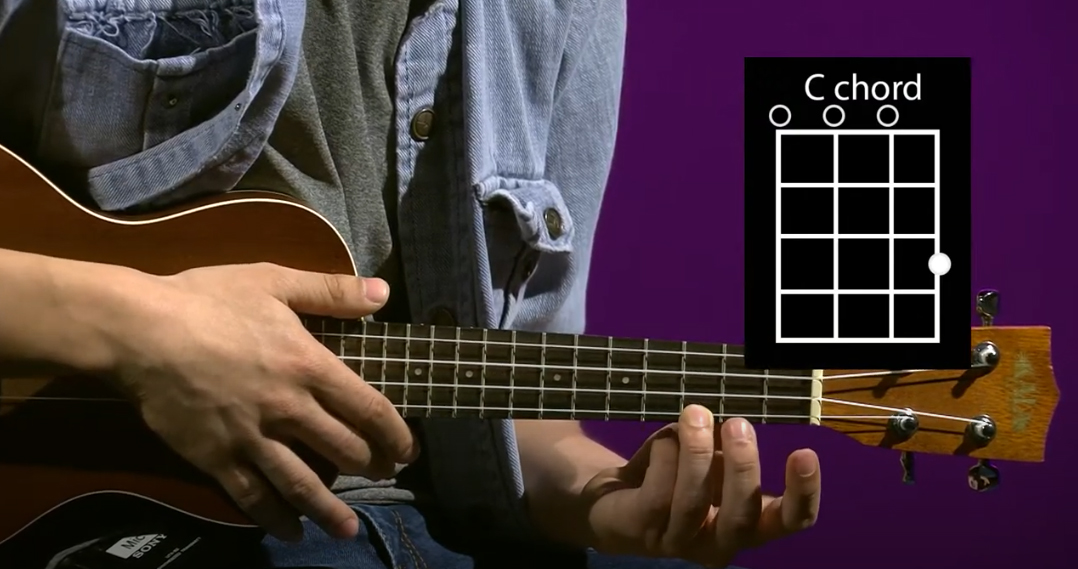
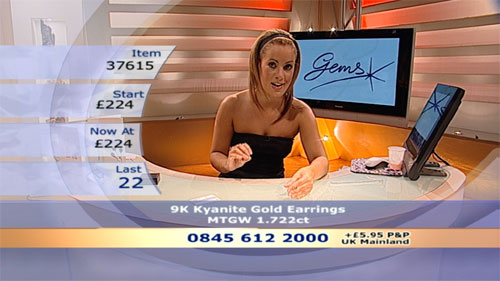
Look at examples of some keyed graphics-
Look not only at their design but where they are placed on screen for their particular purpose. Some have semi-transparent elements. Examples include:
- Title
- ID graphic
- Pop up text message
- Chord charts for a music program
- Product info & number to call

In class "Simple Key" exercise (4 pts):
In this exercise you'll create a simple keyeable ID graphic that follows Jim's Graphic Tips and that be viewed against any background.
- Download the zipped file of interview stills. Then copy them into your sources folder since we'll use them for Thursday's exercise.
- Open them in Quicktime Player and note their codec and pixel dimensions.
- Open Premiere, Media Composer, or Final Cut Pro. Make a new project and import the jpegs.
- Note: If you were actually editing a video project you'd have to make sure your Scratch & Media drives are set to the right place. In the future you'd set this to be your external SSD.
- Import the jpegs into your project.
- Make a simple keyed graphic in Photoshop to import into your HD project (1920 x 1080). Call it "simple" and use Photoshop's "Save As" command to output a PNG (or TIFF version with an alpha channel).
- Import it into your editing program to see how it looks.
- When you are satisfied, upload a copy of your "simple" graphic into the appropriate Canvas assignment.
Thursday
One-off keyed graphics should take advantage of the underlying composition. Instead of just centering text over a background, place it so the two elements work together in a cohesive manner.


Straight & Premultiplied Alpha Channels
Alpha channels can be saved as straight or premultiplied. (Aharon Rabininowitz explains the difference)
Straight (also known as unmatted) just uses the alpha channel to determine opacity. The background or matte color doesn't matter. (often looks funky until keyed/composited)
Premultiplied (also known as matted) stores information in the alpha channel, but also factors transparency information into the Red, Green & Blue channels. (looks as it should before being keyed/composited)
Compositing programs like After Effects interpret alpha channels as either straight or premultiplied. Using the wrong interpretation or premultpilying with the wrong color can result in undesirable white fringing or halos around the perimeter of the alpha.
CHeck out this movie in both Quicktime player and composited in Premiere or AE: QE_Gizmo_loop (from our Meyer textbook)
Using Photoshop's Actions to create an alpha channel:
In Photoshop you can easily make an alpha channel by using the Actions palette. Actions are a prerecorded series of steps you can use that make lengthy procedures simple. Here's how to create an alpha channel using them:
- Make sure that only the layers you want are visible.
- Open the Actions window.
- Open the "Video" actions (accessed by the tiny top right arrow menu).
- Select "Alpha Channel from Visible Layers" .
- Press the PLAY button at the bottom of the window.
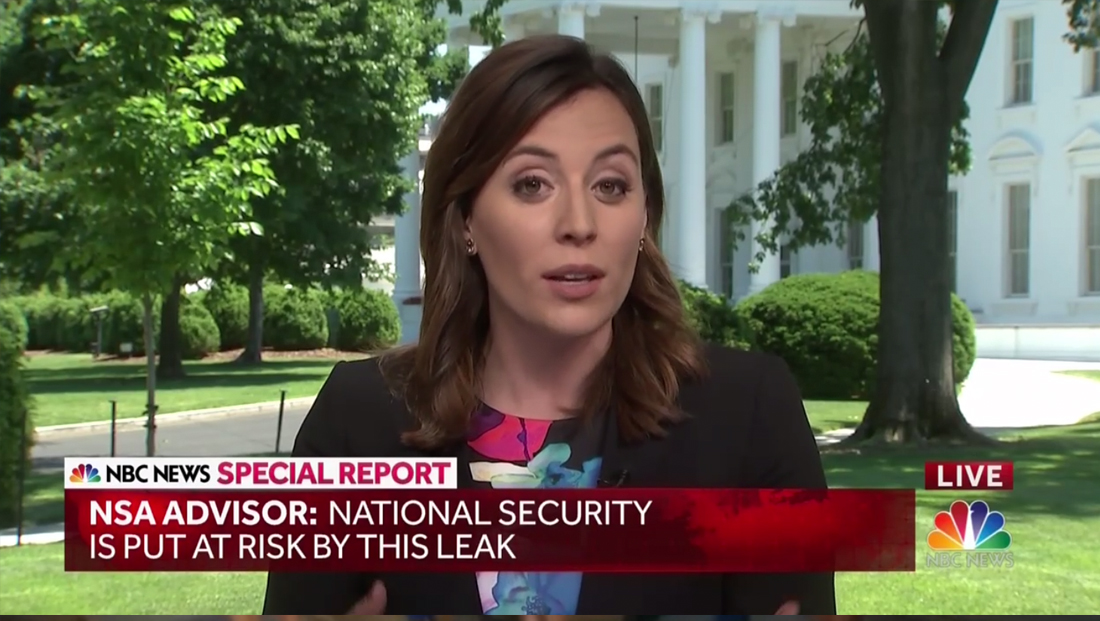
Examine the sample headshot and lower third graphic found here. Note that the horizontal highlight bar is semi-transparent. Examine the corresponding alpha channel.
In-class Key & Still exercise (6 pts):
- Look at some examples of video lower thirds
- Create a nicely designed 1920 x 1080 keyable lower third ID or title graphic that would show up against any background.
- Make sure it has at least two uses of text, at least two other design components, and something that is partially transparent.
- When you are finished, upload a copy as a PNG (or single-layer TIF with a single alpha channel) into your folder into the appropriate Canvas assignment. Make sure it is called "key".
- Composite the graphic over video or a stll headshot in Premiere. How does it look? Output a JPEG still frame from the timeline to put into your Week3 folder. Make sure it is called "still". (Hint: In Premiere you can output a still frame by clicking on the camera icon below the record monitor.)
Vocabulary
- Alpha Channel - (see above)
- Broadcast safe / broadcast legal video (signal is technically complliant - wiki link)
- Codec – Short for coder/decoder or compressor/decompressor. Manufacturers have unique, sometimes proprietary ways to compress, store and retrieve digital files. Examples include DV, JPEG, Avid, and MPEG.
- Opacity - (the level of transparency. Objects that are 100 percent opaque are solid, objects that are 0 percent opaque are transparent.
- Serif - This is a detail found on the ends of the various strokes that make up a typeface. Examples of seriffed typefaces include Times, Courier and Bookman. This sentence uses a seriffed typeface. Most editors and typesetters think that large printed blocks of text are most easily read using a seriffed font.
- Sans Serif - Fonts that are sans serif (without details) include Arial, Verdana, and Helvetica. Almost all of this page uses a sans-seriffed typeface.
Homework: Graphics Package (Due by the beginning of next week's lab):
Design a graphics package for your own or a fictitious TV talk/new/magazine/reality show. Your graphics package should include 3 1920x1080, single layer PNG graphics (or if you choose, you can submit TIFFs, but the key graphic will need an alpha channel). Your three images should have clear visual/design consistency between them.
- Title Graphic - This full screen graphic will be used to open the show. This graphic needs to contain at least two separate pieces of artwork or images, and any text you want. Please call this "title".
- Lower third ID graphic: This keyable graphic will be used to identify a guest and his/her title/occupation. Your file should be keyable (be a PNG or a TIFF with an alpha channel). Please call this "key".
- Promo Graphic: Thisfull screen graphic will be used to promote your show. It should communicate the title of the show, when it is on, and a reason to watch. Please call this "promo".
Remember- the design elements need to come from you! In other words, don't use other people's images or artwork in your design.
Submission: Upload your three PNG graphics (or TIFFs with an alpha channel) to the appropriate Canvas assignment.
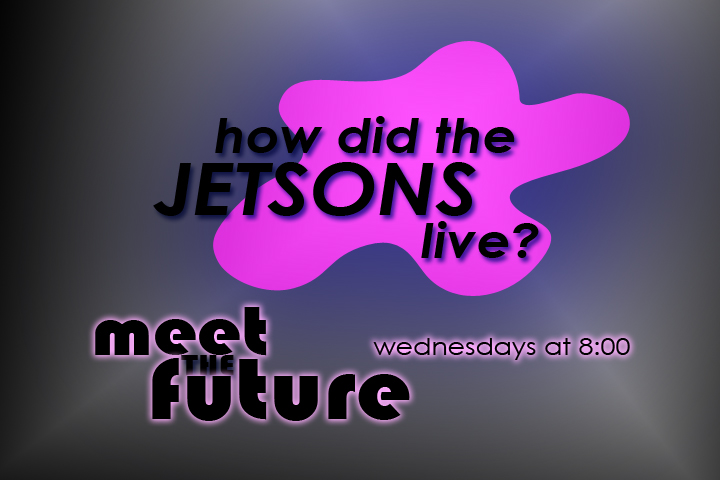
Here's an example (these are 4x3, yours will be 16x9):
 |
 |
 |
Promo |
Title |
Lower 3rd |
Note that the colors and font treatment are similar. All of these images also share the purple blob element.
Another set of examples:
.png) |
 |
.png) |
| Promo | Title | Lower 3rd |
Don't forget to study for next week's Photoshop Quiz!
